Making Use of Throwbot Shooter Arms
Warning: Some the images may not be suitable for viewing by LEGO® purists. LEGO® elements were harmed in the making of this page. Perhaps you'd better just scroll to the bottom, where there are some cute pictures with minifigs. You've been warned!
The Throwbot sets include lots of useful ball-and-socket elements and are fairly cheap. If, like me, you have been collecting lots of these Throwbot sets, you'll end up with a lot more of these "disc shooter arms" than you know what to do with:
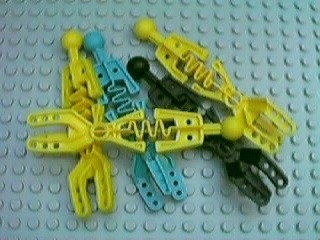
Lots of nearly-useless shooter arms
These pieces can be made into something phenomenally more useful by "liberating" the last 18 millimeters from the rest of the piece. Conveniently, the piece is made out of a softer type of plastic than the ABS that is used for most LEGO® elements (primarily because it needs to be flexible to perform its intended function).
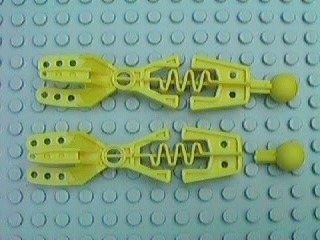
Before, and after. (Purists cringe at this!)
After cutting, use your knife, tweezers or a very tiny set of pliers to shape the end of the "axle" bit so it fits cleanly in an axle socket. Try to shape the end as close as possible to the shape of a real cross axle.
The result is a ball-axle connector piece that is extremely useful for building Technic models:
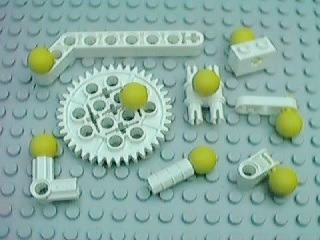
A few different places to connect the ball-axle connector
The only problem is that it is very difficult to separate the connector from the socket:
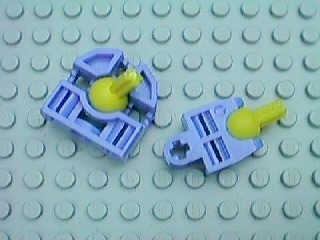
The ball-axle connector in the socket
We asked our Technic experts to give it a try, but they had no better luck than we did. It was fun watching though:
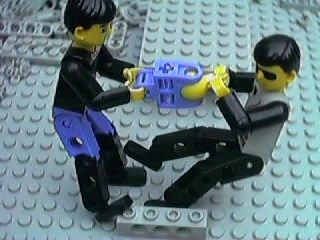
Minidave and Ministeve try their best, but they're inseparable.
To separate the connector from the socket, you need to make a special "crowbar" tool using a #6 angle brick and a #6 (or longer) axle:
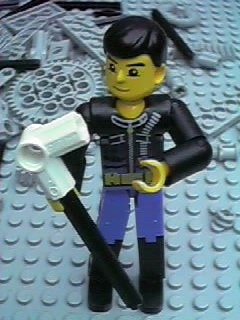
The special "crowbar"
To get the ball-axle connector out of the large (3x3 "square") socket, attach the end of the crowbar to the connector and pull like this:
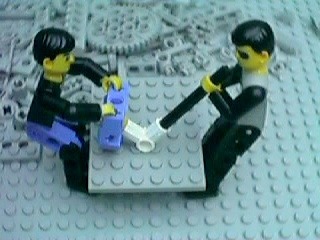
Separating the connector from the large socket...
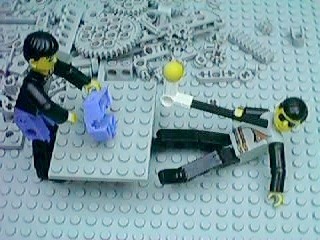
Oops! Well, at least you got it.
To get the connector out of the smaller socket, you have to start by putting the small socket on an axle of its own, along with another (empty) small socket and a spacer:
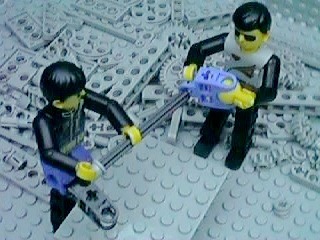
Putting the small socket on another "crowbar"
Then you remove the piece like this:
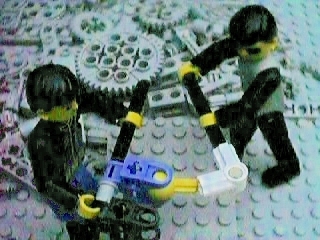
Connect the first crowbar like this,
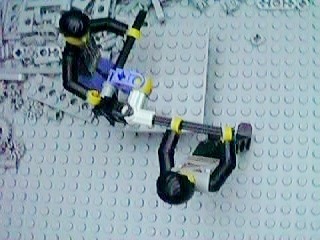
Pull the two bars in opposite directions...
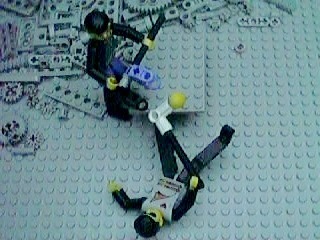
Maybe you should hold onto something, Ministeve.
LEGO® creations index
The graph paper in my newer photos is ruled at a specing of 1 LSS, which is about 7.99 mm.
This site is not affiliated with the LEGO® group of companies.
LEGO®, Duplo®, QUATRO®, DACTA®, MINDSTORMS®, Constructopedia®, Robotics Invention System® and Lego Technic®, etc. are trademarks or registered trademarks of LEGO Group. LEGO Group does not sponsor, authorize or endorse this site.
All other trademarks, service marks, and copyrights are property of their respective owners.
If you want to visit the official LEGO® site, click here
Parts images are from LUGNET. On this page they explicitly give permission to link to the images:
Note: you may link (as in, Yes, it's OK) directly to these parts
images from an off-site web page.
This page was written in the "embarrassingly readable" markup language RHTF, and was last updated on 2012 Dec 30.
 s.27
s.27